Whole Eggs: 3 pieces
Egg Yolk: 1 piece
2. Beat one egg white with sugar until stiff peaks form. 3. Add 30g of melted butter. 4. Add 30g of flour. 5. Mix until well combined. 6. Divide the batter into several small portions according to the desired colors, and tint each portion accordingly. Transfer the colored batters into piping bags. 7. Begin drawing Chopper. Outline the design on the reverse side of baking paper with a pencil, then flip it over to use the front side. First, trace the outline with a batter made from cocoa powder. 8. Fill in the internal details. Finally, add the corresponding colors to all parts. Today, Chopper wears blue pants. Bake at 170°C for one minute to set. 9. Combine 4 egg yolks in one bowl and 3 egg whites in another. Use a mixer to beat the egg yolks until smooth, then add 30g of sugar in two batches, beating until the yolk mixture turns pale. Add 65ml of water, 45ml of vegetable oil, and a dash of vanilla extract (optional). Sift in 100g of low-gluten flour and continue mixing until a smooth batter forms. Beat 3 egg whites with 30g of sugar until stiff peaks form. Fold the beaten egg whites into the yolk batter in two or three batches. Mix gently until combined. Pour the batter into a baking tray lined with the Chopper drawing. Smooth the surface and lightly tap the tray to release air bubbles.
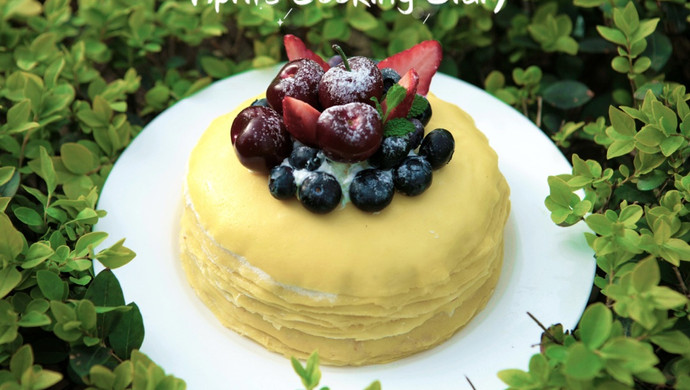
Bake at 170°C for 14 minutes. (Refer to the detailed step images in the log for guidance.) 10. Turn it over and let it cool slightly. 11. Whip the cream and sugar, then spread the cream. 12. Roll it up and refrigerate for at least one hour. 13. Finally, trim off the excess parts from both ends.